Tips for a Successful US Tourist (B1/B2) Visa Application
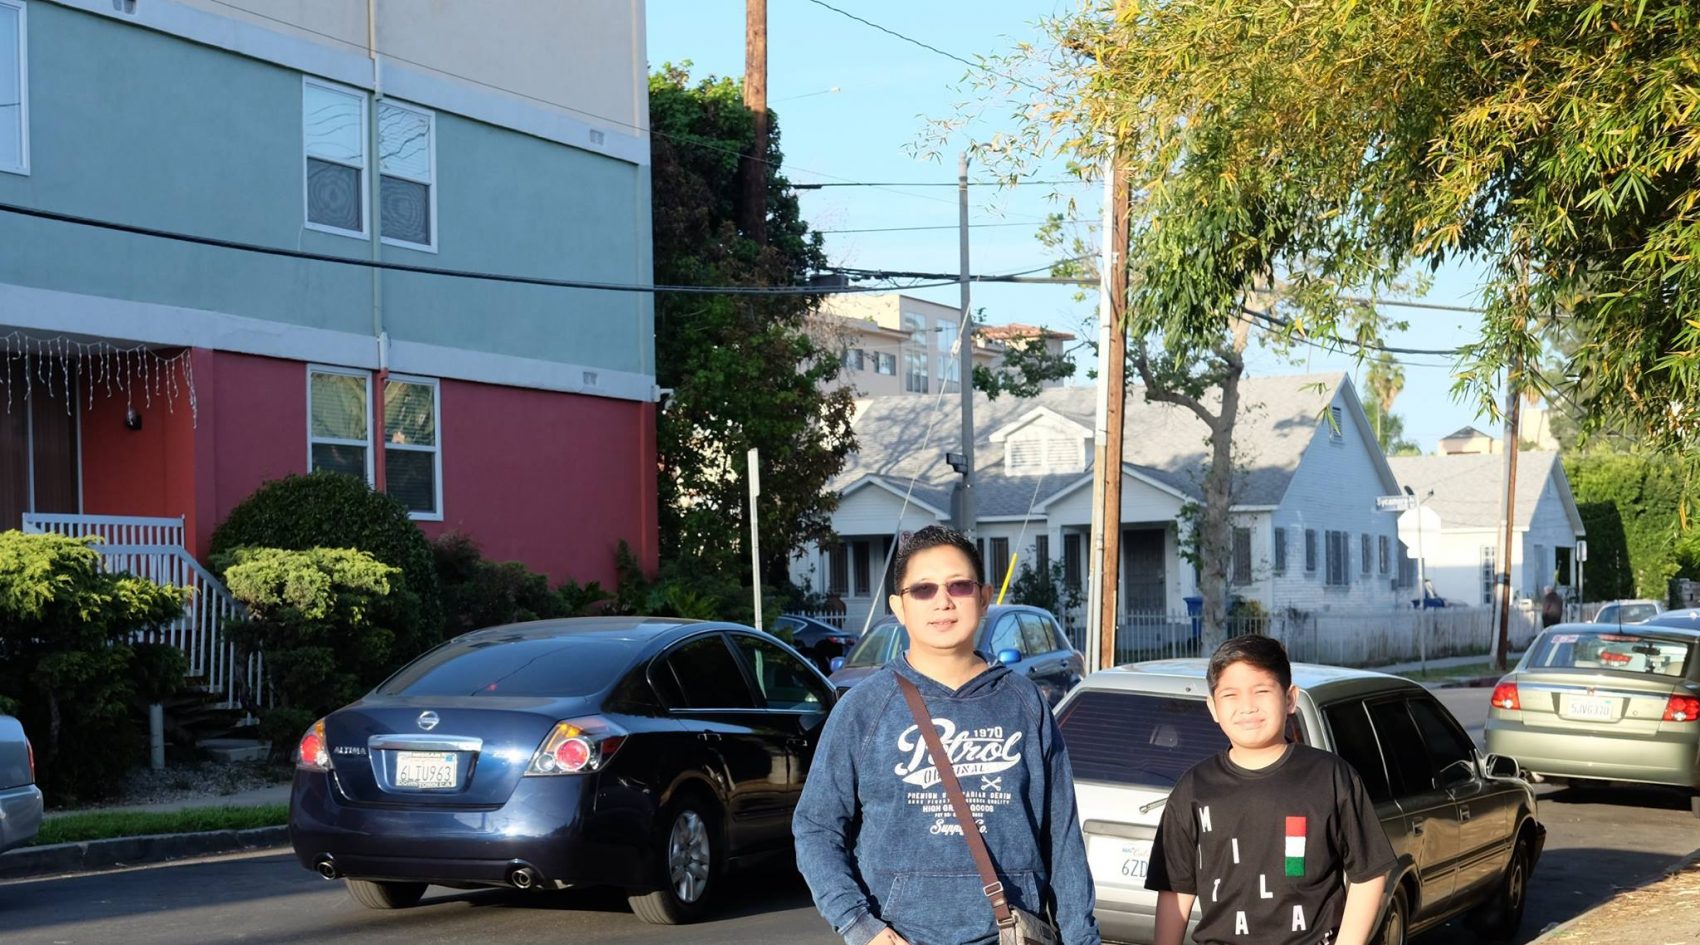
For traveling families like us, the sky is indeed the limit. However, what’s the use of this limitless possibility if you don’t have a visa? If you’re a traveler, you know how hard it is to get it right the first time. Moreso, getting your application approved for the second and nth time. But getting approved isn’t hard, at all! Let me share you our personal experience when we applied for a United States visa.
Here are some of the things I had observed when we applied for a visa.
1. Provide all the required documents
Nothing much more is needed, and nothing less! You wouldn’t want the consul to be doubtful of the documents that you have provided for them. Make sure that everything is in order. You can check the embassy’s order of the list of requirements on their website.
I highly recommend that you place it in a clear folder so that it’s easier for you to rummage through your bag and wouldn’t take so much of your time.
2. Family applicants have higher chances of approval.
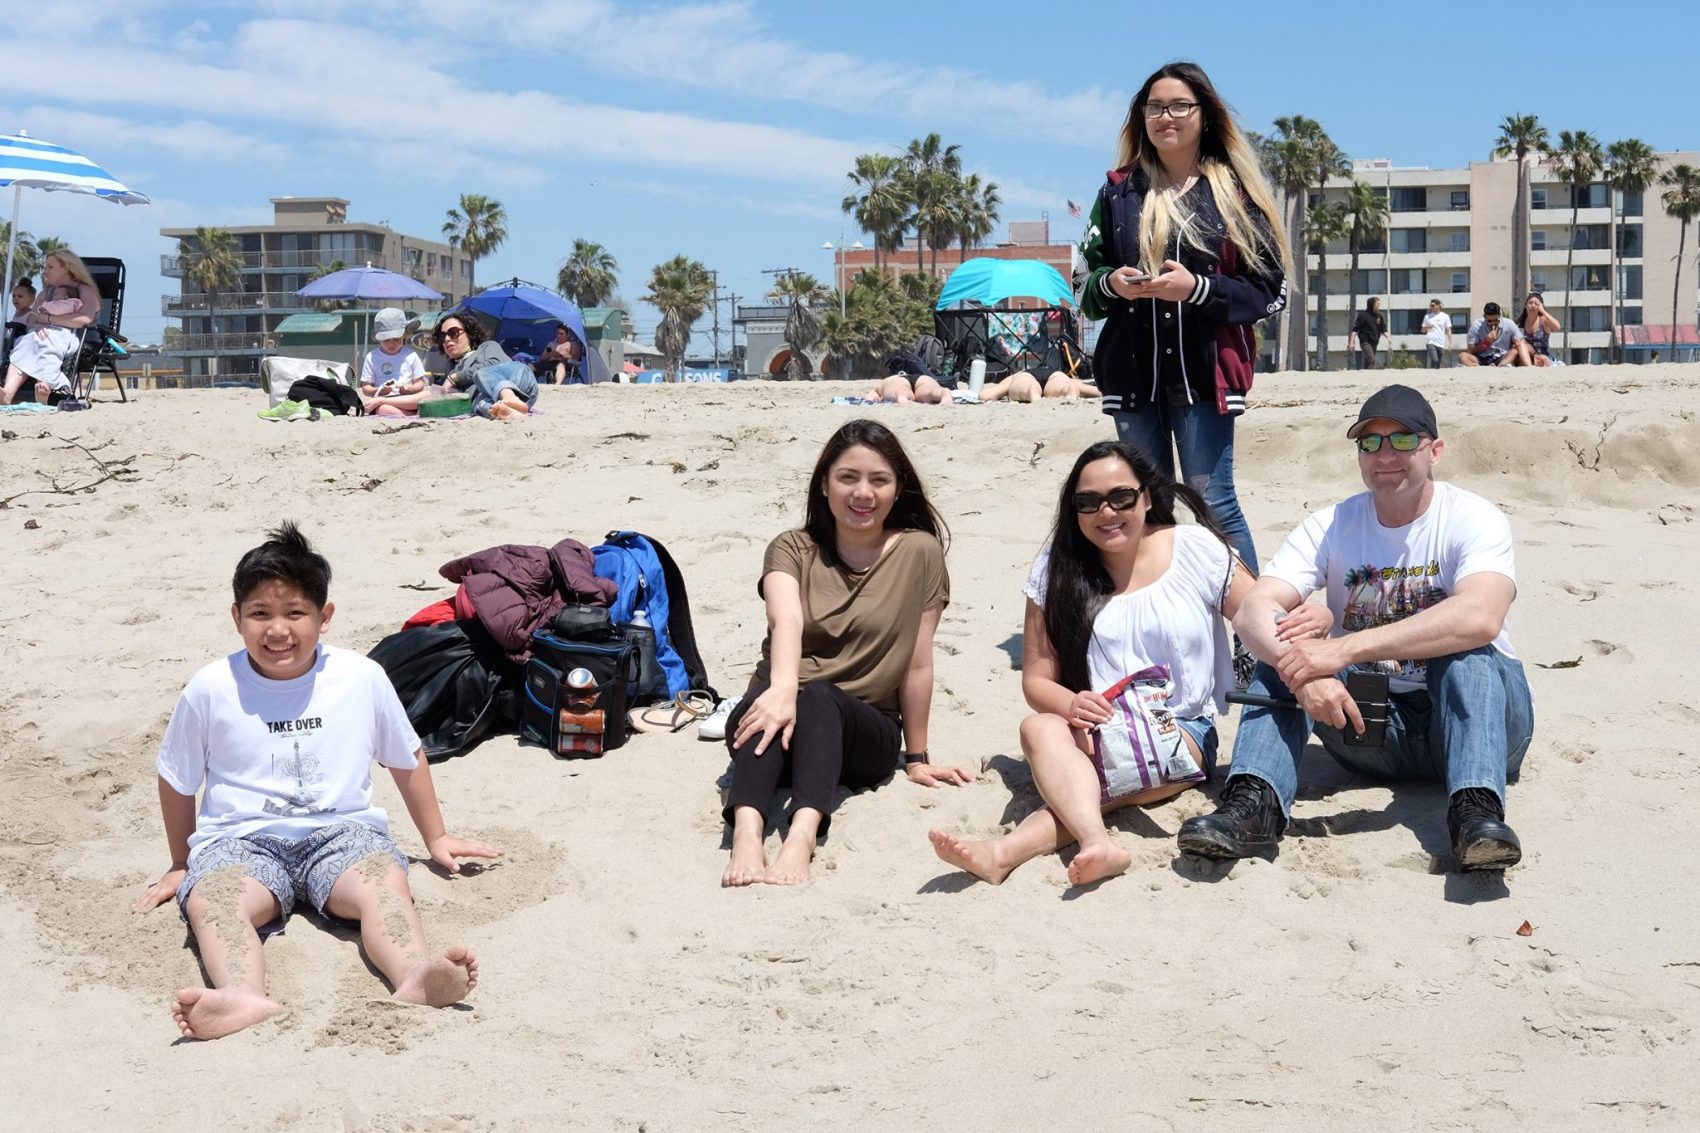
We are lucky that we applied for a US visa when we were already traveling as a family. The chances are higher, especially if you have a child because there’s a high chance that you would all return back to your home country to continue your child’s schooling. Mind you, looking for a good school abroad and have your child adjust to it isn’t an easy thing to do most especially if the child is already of schooling age and is currently enrolled to a school back home.
3. The parents or the sponsor of the trip(in the Philippines or US) has to have a stable job.
The reason why embassies are very strict in approving visa applications is that there are a lot of tourists turned illegal migrants once they have arrived in the other country. To avoid this, the consulate makes sure that you have a closely knit, may it be a family member or a job responsibility, relationship back home. If the sponsor of your trip has a stable job in his native country, the higher the chances of getting your visas approved.
4. Do not lie about anything!
This is the most important requirement of all. If you think you can get away with lying about even the smallest details, don’t even dare to do it. One small lie and you’re out. That’s how it works. Clearly state your intent of why you’re traveling to the United States and detail your itinerary. They have a way of finding out the truth. Always.

5. Be clear about your travel purpose.
As with what I have said in my previous point, be honest about what your intentions are when you’re traveling to the United States. If you’re there for a business trip, then tell them so. It’s better that you provide a complete list of your itinerary beforehand so that you could prove your travel intentions.
If you have a stable job or business back home that you have to return to after traveling, highlight that point. These will increase your chances in getting your visa approved.
6. If you’re single, don’t apply if you’re unemployed.
Not only that you have your own family to go back to, but you also don’t have a job responsibility that will tie you tightly back home. This will trigger red flags to the consul and may even be the cause of your application’s disapproval.
7. For family applicants, apply when you’re traveling during the summer season.
If you have a schooling child, then applying for long-term travels while school days may trigger red flags for the consuls. The embassy knows when the school days are and when’s the summer season. You cannot lie that you’re going on a month-long vacation during school days unless it’s for medical reasons. Applying during these days would render higher chances of approval as they know that the stay will be for short-term only.
Here’s a short conversation from my husband and son’s interview with the consul:
Consul to husband: What do you do?
Husband: I’m a trial lawyer here in the Philippines
Note that the consul didn’t question him much about the purpose of his application because based on his record, my husband has a stable job here in the Philippines which will make him hard to stay abroad for a long time.
Consul to son: So, you’re visiting the US on your school vacation?
Son: Yes.
Consul: Alright, your visa will be delivered in 7 days. Enjoy your trip!
In here, the consul verified that it’s my son’s summer vacation, and the timing of our application was just right. With this, the consul knows that we plan on just staying in the United States for a short time because my son has to go back to school eventually after the vacation ends.
Again, applying for a United States visa isn’t hard at all. You just have to provide all the needed information and be honest about the purpose of your tip.


Step by Step Guide in Applying for a US Visa in the Philippines
(Source: ustraveldocs)
Step 1
For Nonimmigrant Visa applicants:
Determine your visa type by reading Common Nonimmigrant Visas. Each visa type explains the qualifications and application items. Choose the visa type that applies to your situation.
Be sure to also review the Visa Waiver Program. If your country participates in the Visa Waiver Program, you do not need to apply for a visa if you are traveling for business or pleasure and will only be staying in the Unites States for 90 days or less.
Step 2
Once you have determined the correct visa type, you must pay the visa fee. The visa fee page lists the visa types and correlating visa fee in US dollars and native currency.
To pay your visa fee, read the Bank and Payment Options page. This page explains how to make your visa fee payment. You must keep your receipt number to book your visa appointment.
Step 3
Complete the DS 160 form. Double check if the information is accurate.Once the form is submitted, you cannot make any changes. If you need assistance, please consult an immigration lawyer or translator. The call center cannot help you complete your DS-160. You will need your DS-160 number to book your appointment.
Step 4
You are almost ready to schedule your visa appointment!
Now you will need to create a profile in our system. Follow this linkand click on New User.
Complete all fields and create a password. Once you are in the system, you will see your dashboard. Click on Schedule Appointment on the left-hand side menu.
This will start the process for scheduling your appointment. You will need:
-
-
- Your passport number
- The receipt number from your Bank of Philippine Islands (BPI) or BancNet receipt
- The ten (10) digit barcode number from your DS-160 confirmation page
-
Ensure that you have provided a valid and correct DS-160 barcode number when you scheduled your appointment. If the barcode number is invalid or incorrect, you will not be admitted to the interview and your receipt will be locked, preventing rebooking, for 30 days.
As you go through the process you will be able to select your visa type, enter personal data, add dependents, select your document delivery location, confirm visa payment and finally, schedule your appointment.
Step 5
Visit the U.S. Embassy on the date and time of your visa interview. Be sure to check the My Appointment page for the necessary documentation needed for your appointment.
You must bring a printed copy of your appointment letter, your DS-160 confirmation page, one photograph taken within the last six months, your current and with previously issued U.S. Visa. Applications without all of these items will not be accepted.
Step 6
If your visa is approved, the visa will be sent to your designated location selected when you scheduled your appointment.